A white post with red candy stripes and NORTH POLE running down the front is one of the few Christmas decorations that looks right on a porch from the street. You can make one from a plain 4×4 and a roll of red vinyl. This free North Pole SVG has the lettering stacked for the post, candy stripes cut to the post’s width, and a horizontal “North Pole this way” sign with an arrow for a door, gate or arrow board.
A 4×4 post is really 3.5 inches wide on each face, so that’s the size we built around. The stacked letters are 2.38 inches wide and 23.12 inches tall, which needs a 12×24 mat. The stripes file covers 11.5 inches of one face per cut, and the horizontal sign is 11.38 x 2.88 inches. All three are for adhesive vinyl.
| File | Size | Material | Layers | Check |
|---|---|---|---|---|
| NORTH POLE stacked letters for a 4x4 post (23 in tall) | 2.38 × 23.12 in | Vinyl | 1 layer | ✓ Cut-checked |
| North Pole this way (sign, 11.25 in) | 11.38 × 2.88 in | Vinyl | 1 layer | ✓ Cut-checked |
| Candy stripes for a 3.5 in post face (7 strips) | 3.62 × 11.5 in | Vinyl | 1 layer | ✓ Cut-checked |
Three files, one post
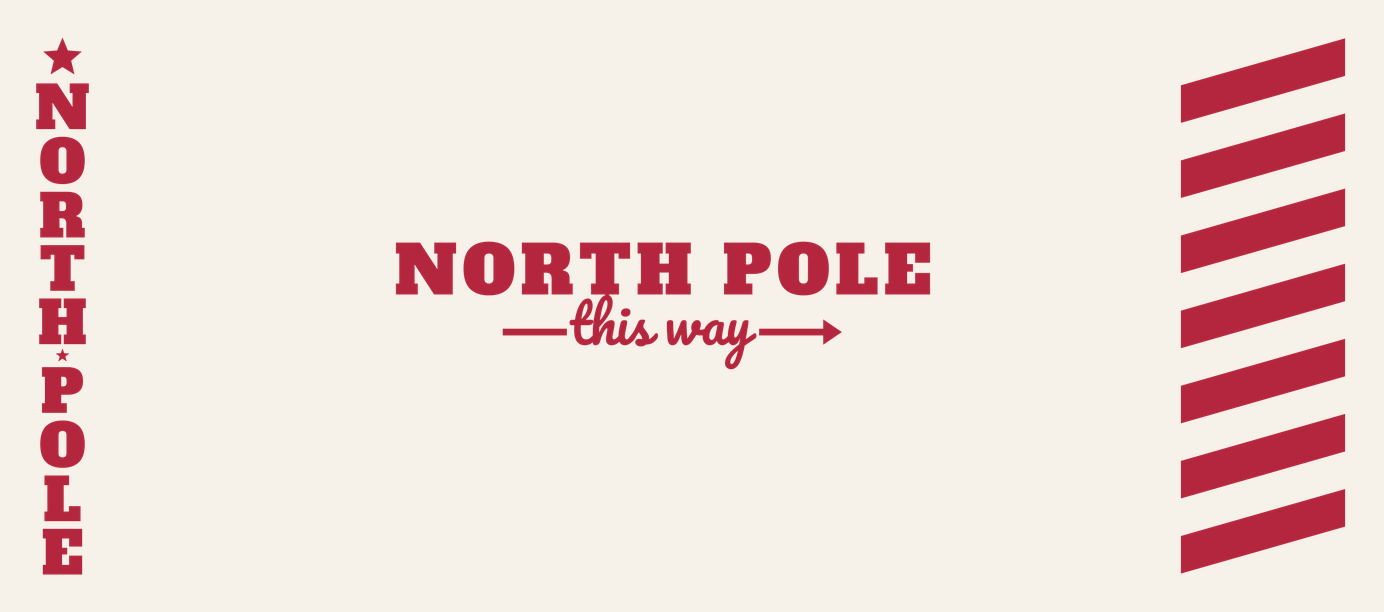
The stacked letters. N-O-R-T-H, then P-O-L-E, in a bold slab serif, one letter per line. A large star caps the top, and a small star sits in the gap between the two words. All nine letters and both stars are one design on one mat, so the spacing comes out even without any measuring.
The candy stripes. Seven slanted bands, each 3.5 inches long so it runs edge to edge across one face of the post. Each band is 0.8 inch tall, measured straight up, with 0.8 inch of bare post between bands, and each one climbs exactly 1 inch from its left end to its right end. That 1 inch number matters if you stripe more than one face (see below).
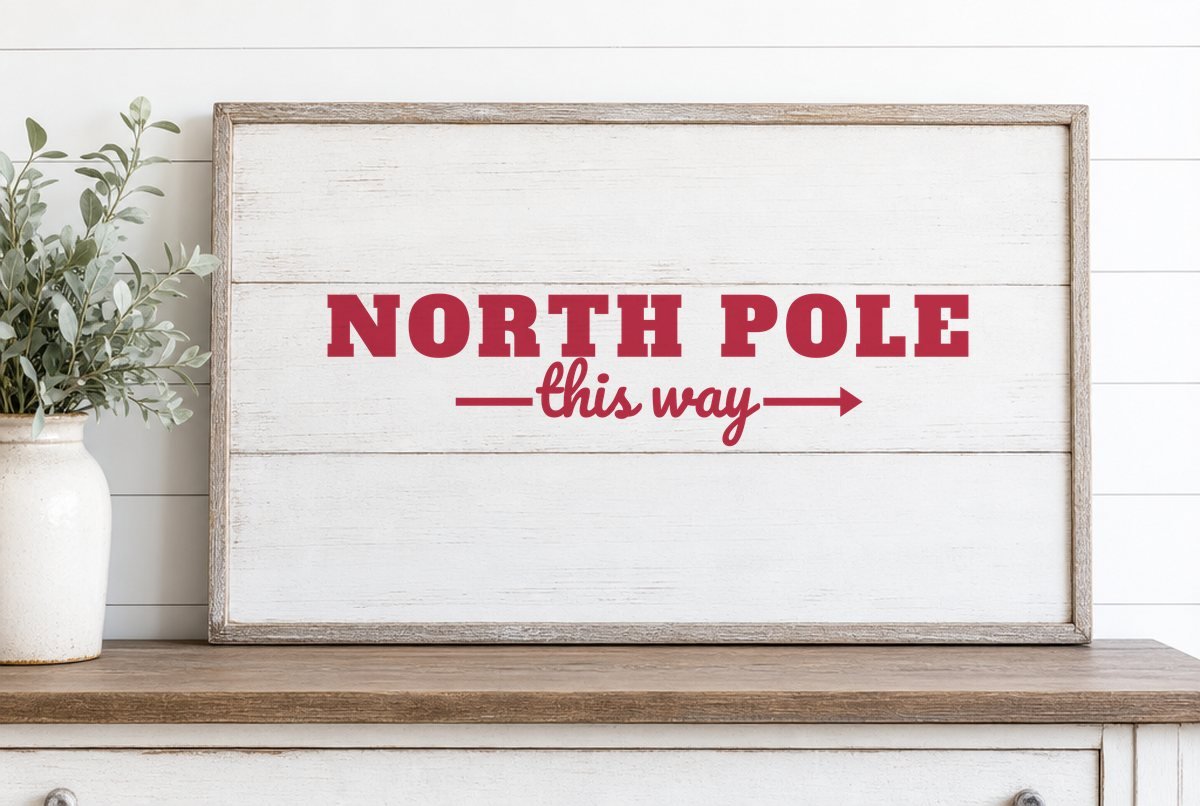
The “this way” sign. NORTH POLE across the top in the same slab letters, with “this way” in script underneath between a short rule and an arrow pointing right.
Every file passed our cut check for adhesive vinyl at its listed size. The letter shapes and stripes are big, simple pieces; the only fine work is the script on the “this way” sign, where the letters join, and the counters inside the O’s, R’s and P’s.
What you need
- A 4×4 post (3.5 in faces), cut to the height you want and painted white, or an existing porch post
- Permanent adhesive vinyl in red, rated for outdoor use
- 12×24 standard grip mat for the letters; 12×12 is enough for the stripes and the sign
- Weeding hook, transfer tape and a scraper
- Tape measure, pencil and masking tape
- Rubbing alcohol and a clean cloth
Cutting and applying the post letters
- Upload. In Cricut Design Space, click Upload, then Browse, and choose north-pole-post-letters.svg. Our upload guide has the details.
- Check the mat size. Click Make It. Cricut’s help center says that when a design is taller or wider than 11.5 inches, Design Space defaults to a 12×24 mat, and you can change it in the Material Size field on the Prepare screen. Make sure it shows 12×24 and your vinyl is at least 24 inches long.
- Cut and weed. Pick your vinyl setting and cut without mirroring. Weed the background, then the counters inside the O’s, R’s and P. See the weeding guide if anything lifts.
- Prep the post. Paint needs to be fully cured before vinyl touches it. Wipe the front face with rubbing alcohol and let it dry.
- Mark a center line. Draw a light pencil line down the middle of the face, 1.75 inches from either edge. The letters are 2.38 inches wide, which leaves a little over half an inch of post on each side.
- Apply top down. Cover the strip with transfer tape. Tape the top star in place with masking tape, peel the backing off the first few letters, and smooth them down along your line. Keep peeling and smoothing a few letters at a time until you reach the E. A 23 inch strip is much easier to keep straight this way than laid down all at once.
Burnish again once the transfer tape is off, pressing hard around every letter edge. Outdoor vinyl holds best when the edges are sealed down to the wood, especially on the side of the post that faces the weather.
Adding the candy stripes
The stripes go on the faces without letters, or above and below the lettering if your post is tall. Each cut of the stripes file covers 11.5 inches of one face. Cut it as many times as you need. Three copies fit side by side on a 12×12 mat, since each is 3.62 inches wide.
Apply one full sheet of stripes at a time with transfer tape, lining the ends of the bands up with the edges of the face. To stack a second sheet above the first, leave the same 0.8 inch gap between the top band of the lower sheet and the bottom band of the upper one so the pattern doesn’t jump.
For the barber-pole look where stripes spiral around the corner, use that 1 inch climb. On the next face to the right, start the sheet 1 inch higher than on the face before it. The end of each band on the first face then meets the start of the same band on the next face at the corner, and the stripes wind up the post like a candy cane.
The “this way” sign
At 11.38 inches wide, the sign fits the 11.5 inch cutting area of a 12×12 mat with almost nothing to spare, so leave it at full size. It fits a 1×4 board or a pointed arrow board about a foot long, or you can put it right on a front door.
The arrow points right. You can’t just flip the file to point it left, because the lettering would read backward. If your door or path is to the left, place the board so the arrow side faces where people should go, or hang it on the other side of the walkway.
Sizes at a glance
| Where | File | Size |
|---|---|---|
| Front face of a 4×4 post | Stacked letters | 2.38 x 23.12 in |
| Other faces of a 4×4 | Candy stripes, repeated | 3.62 x 11.5 in per cut |
| 6×6 post (5.5 in faces) | Letters and stripes scaled up | Letters about 3.7 in wide; stripes to 5.5 in |
| Door, 1×4 board or arrow board | “This way” sign | 11.38 x 2.88 in |
Scaling up for a wider post is fine; scale the stripes to the new face width with the lock closed, and the climb and gap grow with it. Don’t shrink the letters for a narrower post. The small star between the words and the script on the sign are the first parts to fall under the minimum width.
Permanent vinyl is made to stay put and can pull paint when you peel it off in January. If you want the decoration to come down each year, put the vinyl on a separate painted 4×4 that stands on the porch rather than on the house’s own posts.
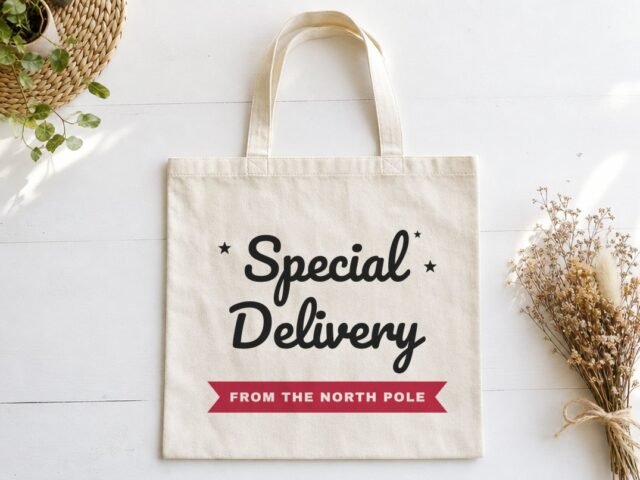
For the rest of the porch, the Special Delivery Santa sack is a “Special Delivery From the North Pole” design for gift sacks, and our permanent vs removable vinyl guide covers outdoor surfaces.
Questions
Will the North Pole letters fit a 4×4 post?
Yes. A 4×4 is 3.5 inches wide on each face, and the stacked letters are 2.38 inches wide, leaving a small margin on each side. The column is 23.12 inches tall.
Can I cut the post letters on a 12×12 mat?
No, not at full size. The letters are over 23 inches tall, so you need a 12×24 mat and a machine that takes one. Design Space switches to a 12×24 mat when a design is taller than 11.5 inches.
How do I make the stripes spiral around the post?
Each band climbs 1 inch across one face. Start the stripe sheet on each next face 1 inch higher than the face before, and the bands meet at the corners.
What vinyl should I use outside?
Permanent adhesive vinyl made for outdoor use. Apply it to cured paint on a clean, dry surface and burnish the edges well.