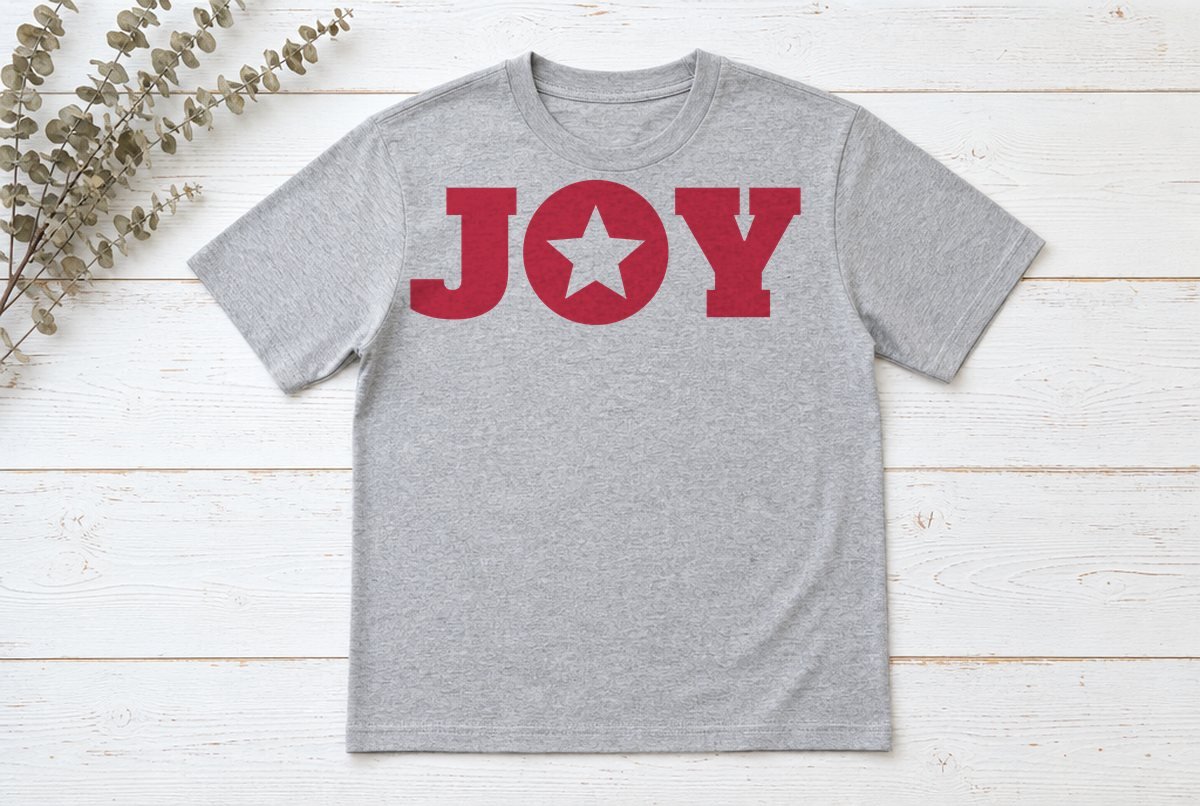
Three letters and a star. “Joy” is short enough to go big on a shirt and still read from across a room, and it shrinks down onto a mug without turning into a smudge. This set gives you the word three ways, each with a star built into the lettering rather than floating off to one side.
There are two 10 in shirt designs for iron-on, an 8 in sign design for adhesive vinyl and a 3.25 in mug version. All four are one color and one cut layer, checked at those sizes for the material they’re built for.
| File | Size | Material | Layers | Check |
|---|---|---|---|---|
| JOY with a star in the O (shirt, 10 in) | 10.12 × 3.88 in | HTV (iron-on) | 1 layer | ✓ Cut-checked |
| Script joy with a star dot (shirt, 10 in) | 10.12 × 7.62 in | HTV (iron-on) | 1 layer | ✓ Cut-checked |
| JOY under a shining star (sign, 8 in) | 8.12 × 6.62 in | Vinyl | 1 layer | ✓ Cut-checked |
| JOY with a star in the O (mug, 3.25 in) | 3.38 × 1.38 in | Vinyl | 1 layer | ✓ Cut-checked |
The three styles
JOY with a star in the O
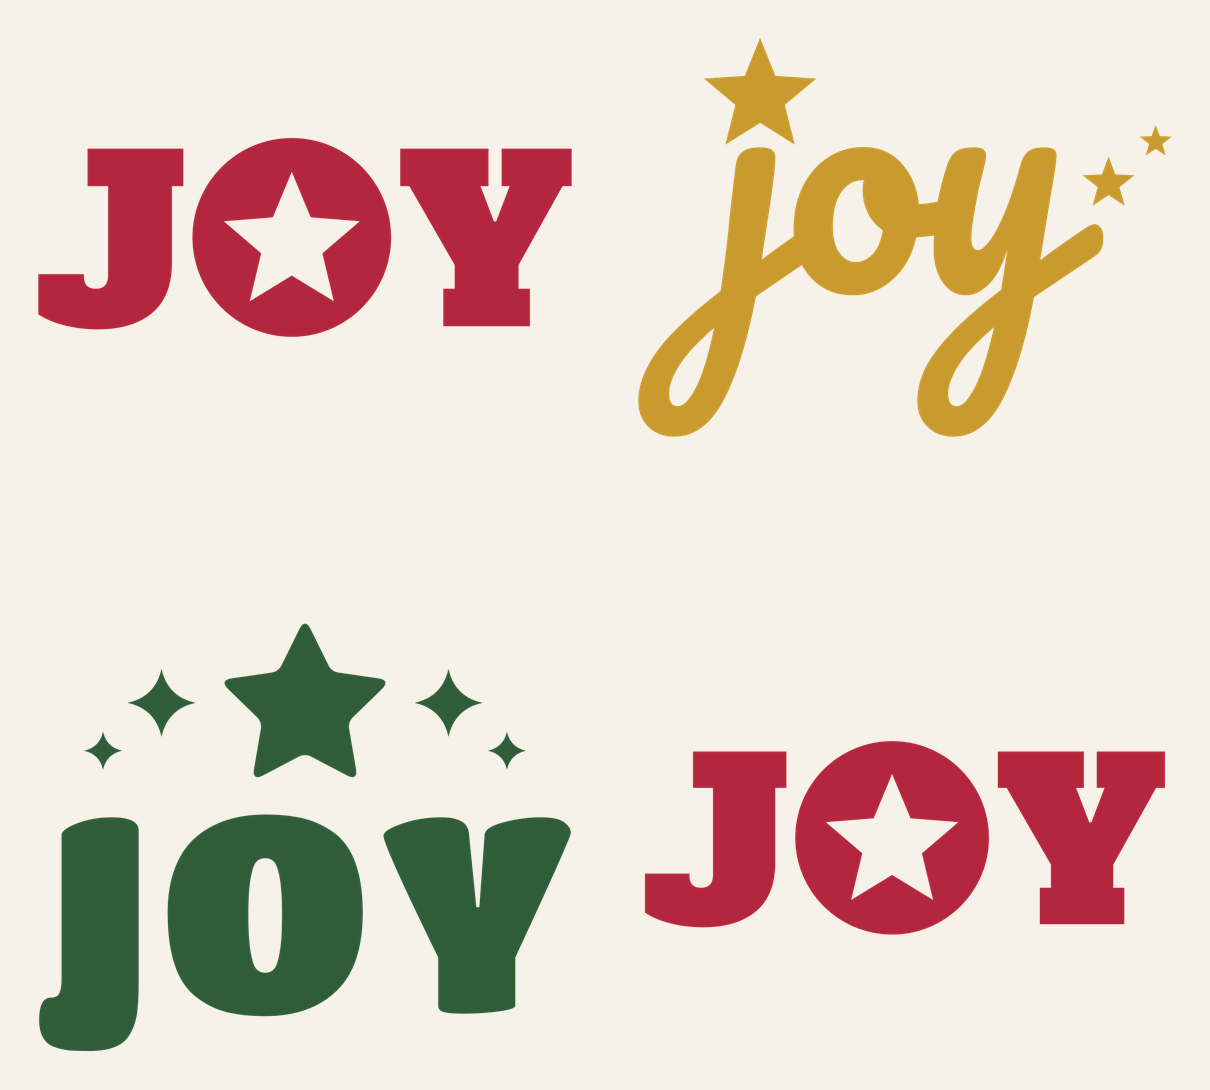
Heavy slab capitals in Alfa Slab One, with the O replaced by a solid circle and a five-point star cut out of the middle. The star is a hole, so whatever’s under the vinyl shows through it: a red shirt gives you a red star inside a white circle, and so on. It’s the simplest file in the set to weed. There are only four shapes to deal with, the J, the Y, the circle and the star-shaped hole. This style comes at 10 in for shirts and again at 3.25 in for mugs.
Script joy with a star dot
Lowercase “joy” in Pacifico script, with the dot of the j swapped for a star and two smaller stars trailing off to the right. The letters are welded into one continuous piece. The three stars are separate, so they need a little care during weeding. At 10 x 7.5 in it’s the tallest file here, sized for the front of an adult shirt or sweatshirt.
JOY under a shining star
Chunky rounded capitals in Titan One under a big soft-cornered star, with two four-point sparkles on each side. Made for signs and decals at 8 in wide. Each star and sparkle is its own piece, so you’ll handle five small shapes plus the three letters.
Every file passed our cut check at its listed size: welded, closed paths, no strokes thinner than the minimum for that material, no pieces small enough to lose and no background slivers too narrow to weed. Iron-on gets a wider minimum than adhesive vinyl, which is why the shirt files stay at 10 in.
What you need
- Cutting machine and a standard grip mat
- Iron-on (HTV) for shirts, or permanent adhesive vinyl for signs and mugs
- Heat press or iron, with a protective sheet
- Transfer tape for adhesive vinyl
- Weeding hook
- Shirt, sweatshirt, tote, sign blank or mug
Making the shirt
- Upload. Bring the shirt file into Design Space (our upload guide has the steps) and confirm it’s 10 in wide.
- Mirror. Click Make It. On the Prepare screen, make sure Mirror is on for the mat. Design Space turns it on automatically when you choose an iron-on material, but it’s worth a look.
- Cut. Load the iron-on shiny side down and pick the matching material setting.
- Weed. For the star-in-the-O file, remove the background and the star from the middle of the circle. For the script file, clear the loops in the j and y and the inside of the o, and keep the three stars on the carrier.
- Press. Place the design about three finger widths below the collar, centered. Press with the time, temperature and pressure for your iron-on and shirt blank from Cricut’s Heat Guide, then peel the carrier as the material instructs.
First time pressing a shirt? Read how to make your first shirt with a Cricut before you start; it covers pre-pressing and peeling.
Forgetting to mirror is the classic iron-on mistake, and it wastes a whole shirt’s worth of vinyl. Check the J on the mat preview before you cut: on the canvas its hook curls to the left, and on a mirrored mat it curls to the right.
On a sign or mug
Use adhesive vinyl with Mirror off. Weed, cover with transfer tape, burnish and apply. For the sign file, the sparkles are small and pointy, so burnish over them twice before lifting the tape. For the mug, use permanent vinyl and see our mug guide for keeping vinyl flat on a curve.
Sizes
| Project | File | Width |
|---|---|---|
| Mug or tumbler | Star in the O, mug | 3.25 to 3.5 in |
| Tote bag | Either shirt file | 10 in |
| Adult shirt or sweatshirt | Either shirt file | 10 to 11 in |
| 12 x 12 sign or wreath center | Under a shining star | 8 to 10 in |
| Porch board or large window | Under a shining star | 12 in and up |
Scale up freely. Don’t scale the shirt or sign files down to mug size; the mug file exists because the thin parts of the other designs get too fine when they’re small. Kids’ shirts are the catch: 10 in is the smallest size we checked for iron-on, so it only suits the larger youth sizes.
Ideas
Gold glitter iron-on on a cream or green sweatshirt works well with the script file. For a family set, press the star-in-the-O style in the same color on everyone’s shirt, and our family Christmas shirts file is there if you want a second design. A wood sign with JOY under a shining star pairs with Believe or Merry Christmas for a mantel group.
Questions
What size should a Joy SVG be on a shirt?
About 10 in wide on an adult shirt or sweatshirt. The two shirt files open at 10 in, and that’s also the smallest size we checked them for iron-on.
Is the star in the O a separate piece?
No. The star is a hole cut out of a solid circle, so the shirt or surface shows through it. You weed it out like the background.
Can I put the Joy SVG on a mug?
Yes. Use the 3.25 in mug file in permanent adhesive vinyl. It’s the star-in-the-O design at a size that fits a standard mug.