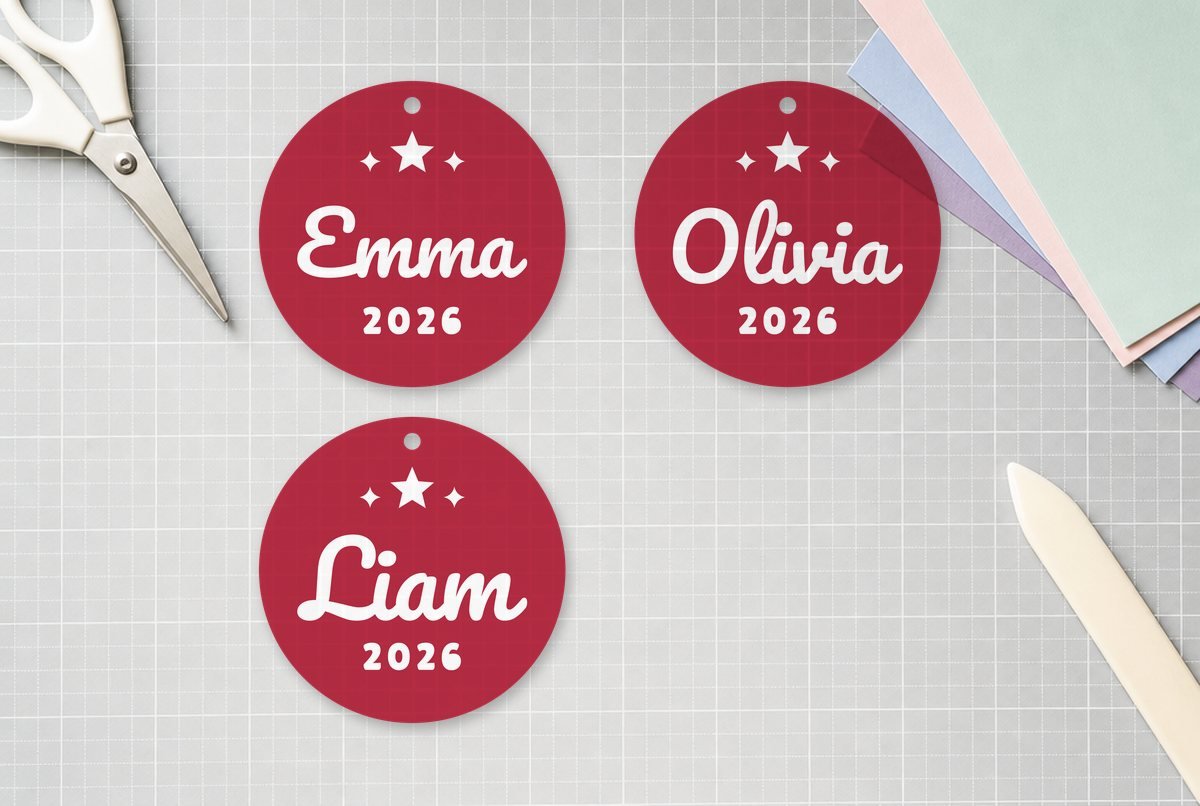
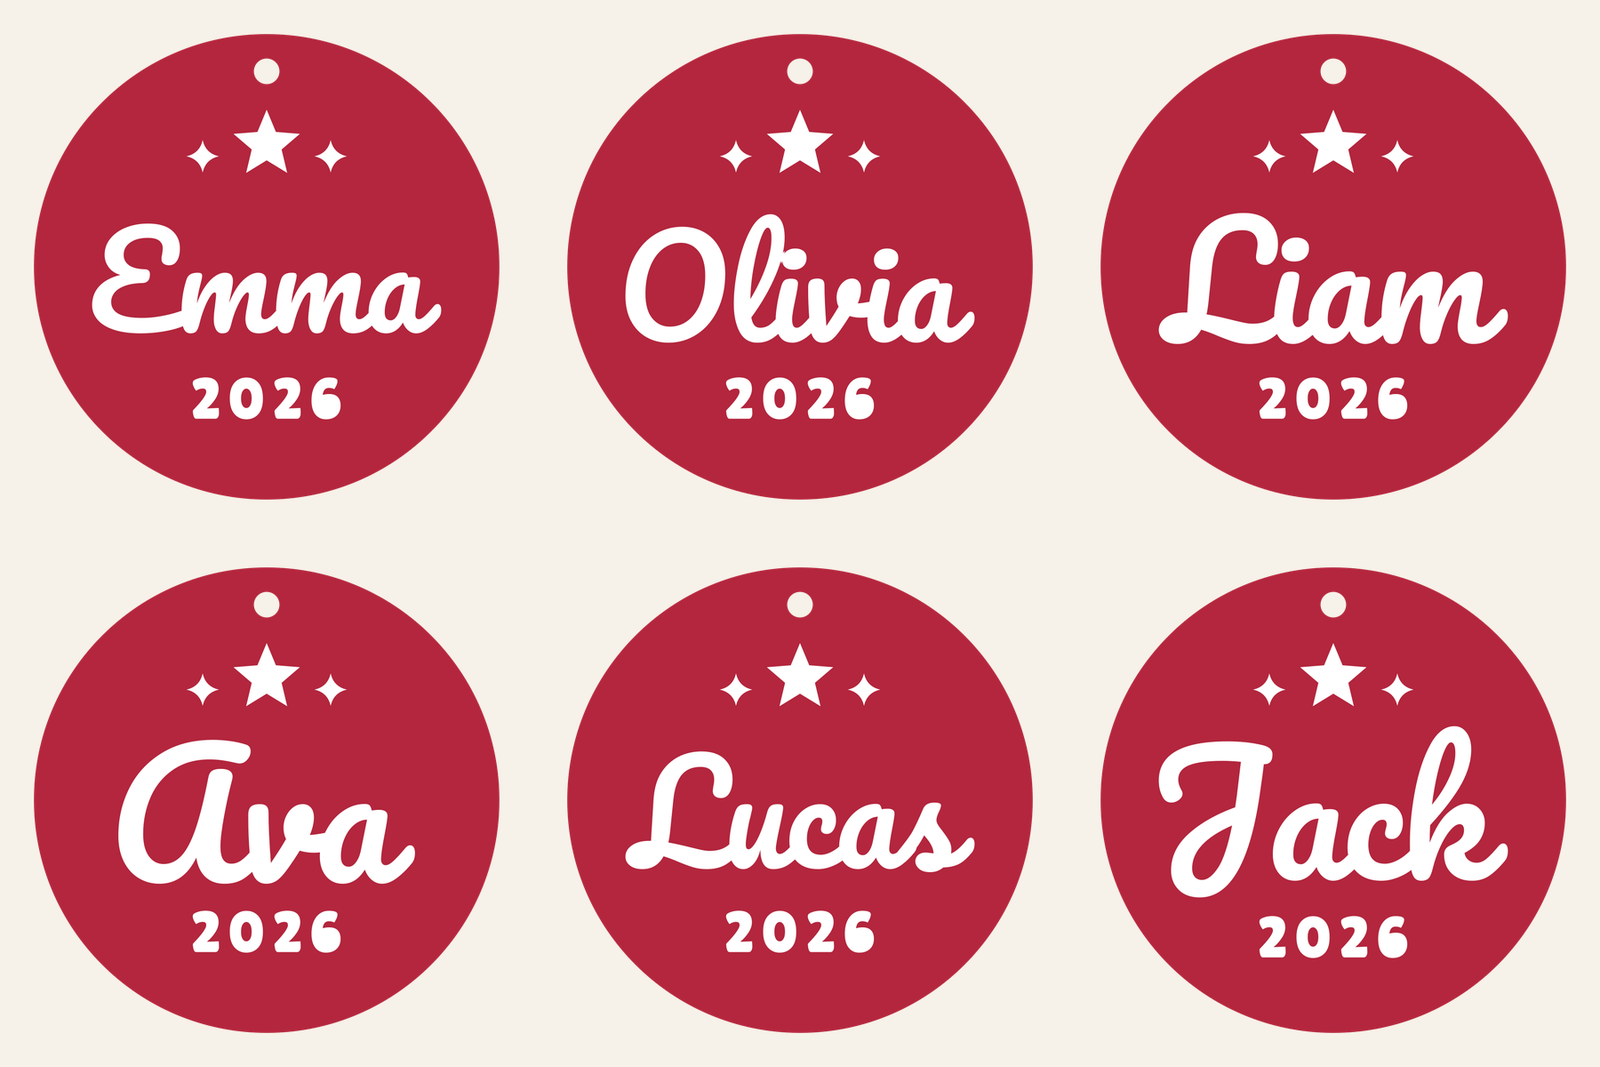
A flat disc ornament with a name on it is one of those projects that scales well: one for each grandchild, a dozen for a classroom, a set for every stocking on the mantel. This template gives you a 4 in round ornament with a hanging hole at the top, a star and two sparkles, a script name in the middle and the year underneath.
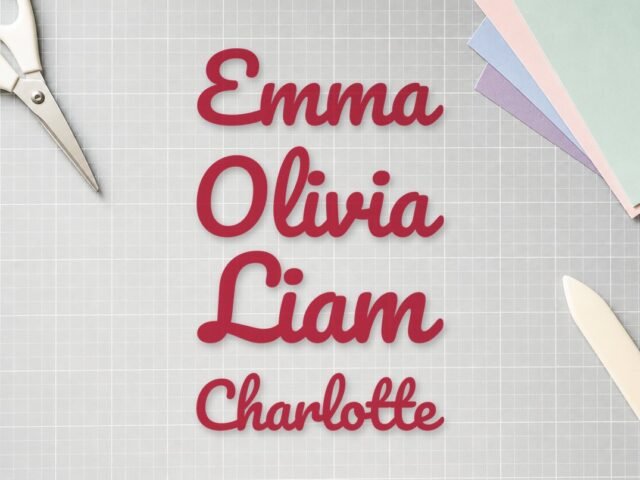
The download includes six ready-made names (Emma, Olivia, Liam, Ava, Lucas and Jack) so you can see how short and long names sit on the disc. For any other name, you retype it in Pacifico, the free script font the samples are set in. Each file is built at 4 in across and checked for cardstock, so it cuts on paper and also works in vinyl.
| File | Size | Material | Layers | Check |
|---|---|---|---|---|
| Name ornament: Emma (4 in disc) | 4.12 × 4.12 in | Cardstock | 2 layers | ✓ Cut-checked |
| Name ornament: Olivia (4 in disc) | 4.12 × 4.12 in | Cardstock | 2 layers | ✓ Cut-checked |
| Name ornament: Liam (4 in disc) | 4.12 × 4.12 in | Cardstock | 2 layers | ✓ Cut-checked |
| Name ornament: Ava (4 in disc) | 4.12 × 4.12 in | Cardstock | 2 layers | ✓ Cut-checked |
| Name ornament: Lucas (4 in disc) | 4.12 × 4.12 in | Cardstock | 2 layers | ✓ Cut-checked |
| Name ornament: Jack (4 in disc) | 4.12 × 4.12 in | Cardstock | 2 layers | ✓ Cut-checked |
Two layers, one ornament
Every file has two layers, and they’re meant for different materials.
The disc is a plain 4 in circle with a 0.22 in hanging hole centered about 0.3 in below the top edge. Cut it from heavy cardstock, or skip it entirely if you bought wood or acrylic ornament blanks and just use it on screen as a placement guide.
The name layer holds everything that sits on top: the name in Pacifico (up to 3 in wide), “2026” in Lilita One below it, and the star with its two sparkles above. Cut that layer from white cardstock, adhesive vinyl or glitter paper, whatever contrasts with your disc.
The script letters in each name are welded wherever they join, so the name cuts as one connected piece plus its i dots. A capital that stands clear of the next letter in Pacifico, like the J in Jack and the O in Olivia, is its own piece too. We checked both layers at the full 4 in size against our cardstock limits, which are stricter than the ones for vinyl: no stroke too thin to survive the blade, no tiny piece that will vanish on the mat and no sliver of background too narrow to weed. The star and sparkles are separate small pieces, so they’re the ones to watch as you peel.
What you need
- Cutting machine with a standard grip mat (or light grip for thin paper)
- Heavy cardstock for the disc, or 4 in round wood or acrylic ornament blanks
- Cardstock or permanent adhesive vinyl for the name layer
- Transfer tape, if the name layer is vinyl
- Glue stick or double-sided tape, if the name layer is paper
- Ribbon, twine or ornament hooks
- Weeding hook
Putting a different name on it
Start with the sample name closest in length to yours. You’ll hide the sample name and type your own in the same spot.
- Install Pacifico. It’s free on Google Fonts. Download it, install it on your computer, then restart Design Space so it picks up the new font.
- Upload the ornament. Upload the SVG as usual (our upload guide walks through it), add it to the canvas, then click Ungroup at the top of the Layers panel so the disc and name layer separate.
- Hide the sample name. Select the name layer and click Contour in the Layers panel. Click each part of the name to hide it: the word itself, the holes inside letters like a, o and e, and any i dots. Hidden cut lines turn a lighter shade. Leave the star, sparkles and year alone, then close the window.
- Type the new name. Click the Text tool, type the name, open the font list and pick Pacifico from the System fonts. Size it so it’s no wider than 3 in and roughly as tall as the sample was.
- Weld it. Script letters in Design Space come in as separate letters that overlap. If any letters don’t touch, tighten the letter spacing until they do. Then, with the text selected, choose Combine > Weld so the name cuts as one piece.
- Attach it. Select the welded name and the rest of the name layer, then click Attach so the name, stars and year cut in the same arrangement you see on screen.
Cricut’s help center covers Contour, working with text and Weld if you want to see the screens. Our weld vs. attach vs. group explainer covers why you weld the letters and attach the rest.
Our cut check covers the six sample names, not the one you type. A long name like Christopher squeezed into 3 in gets smaller, and Pacifico’s thin joins get thinner with it. For long names, make the disc bigger (scale the disc and name layer together) rather than shrinking the name.
Changing the year works the same way: hide the digits you don’t need with Contour and type new ones in Lilita One, another free Google font.
Cutting and putting it together
- Check the size. The disc should read about 4 in across. Click Make It. The disc and name layer are different colors, so they land on separate mats.
- Pick the material for each mat. Choose your cardstock or vinyl setting for each one. Neither layer needs mirroring.
- Weed or pop out the pieces. On cardstock, lift the name off the mat slowly by peeling the mat away from the paper, not the paper off the mat. On vinyl, weed around the letters and keep the tiny counters in place.
- Assemble. Glue the paper name layer onto the disc, starting with the name and then placing the star and year. For vinyl, lift everything at once with transfer tape and press it down on the disc or blank. Our transfer tape guide has the hinge method, which helps center it.
- Hang it. Thread ribbon through the hole. On a store-bought blank, line up the star under the blank’s own hole.
If you’re making a whole batch of paper ornaments, glue two cardstock discs back to back with a ribbon loop sandwiched between them. The ornament gets stiffer, and it looks finished from both sides of the tree.
Size guide
| Use | Disc size | Name layer |
|---|---|---|
| Standard flat ornament (as designed) | 4 in | Cardstock or vinyl |
| Large ornament or package topper | 5 in | Cardstock or vinyl |
| Door or wreath medallion | 6 to 8 in | Cardstock or vinyl |
Scale the disc and name layer together so they stay lined up. Don’t go below 4 in. That’s the size we checked, and shrinking the file thins the star points and the joins in the script, which can push them under the cardstock minimum.
Ideas
Red disc with a white name is the default, but a kraft disc with a gold glitter name looks good too, and white on pine green matches most trees. For stockings in the same lettering, our stocking name SVG uses the same Pacifico script. For a mantel garland, string the discs on twine with a few paper flakes from our snowflake set between them.
If the i dots go missing
The dot on Liam and the second dot on Olivia are separate pieces (Olivia’s first dot sits against the top of the l and cuts with the name). On paper they can stay stuck on the mat when you lift the name, so check the mat before you clean it off. On vinyl, weed around them rather than lifting the whole background in one pull.
Questions
What font is used for the ornament names?
Pacifico, a free script font from Google Fonts. Install it on your computer and it shows up under System fonts in Design Space. The year is set in Lilita One, also free.
How do I change the name on the ornament SVG?
Ungroup the file, use Contour to hide the sample name on the name layer, type your name in Pacifico, weld it, then attach it to the star and year so they cut together.
Can I use this on wood ornament blanks?
Yes. Skip cutting the disc and use it only as a placement guide, then cut the name layer from permanent adhesive vinyl and apply it to a 4 in blank.
How big is the ornament?
The disc is 4 in across with a 0.22 in hanging hole near the top. You can scale it up, but don’t shrink it, or the thin parts of the script get too fine to cut.