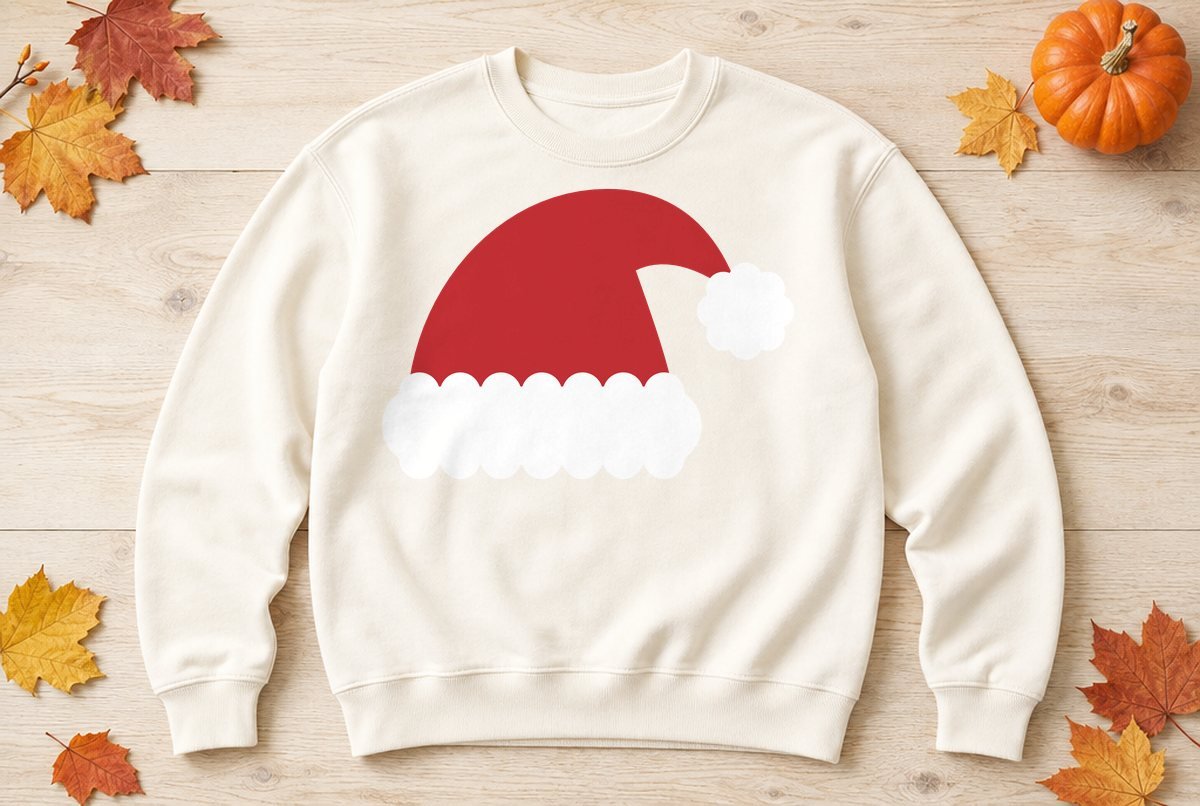
A Santa hat drops onto almost anything: the first letter of a name, a monogram, a snowman’s head, a pet portrait, the corner of a gift tag. This one flops to the right with a fluffy scalloped fur band and a puffy pompom on the tip.
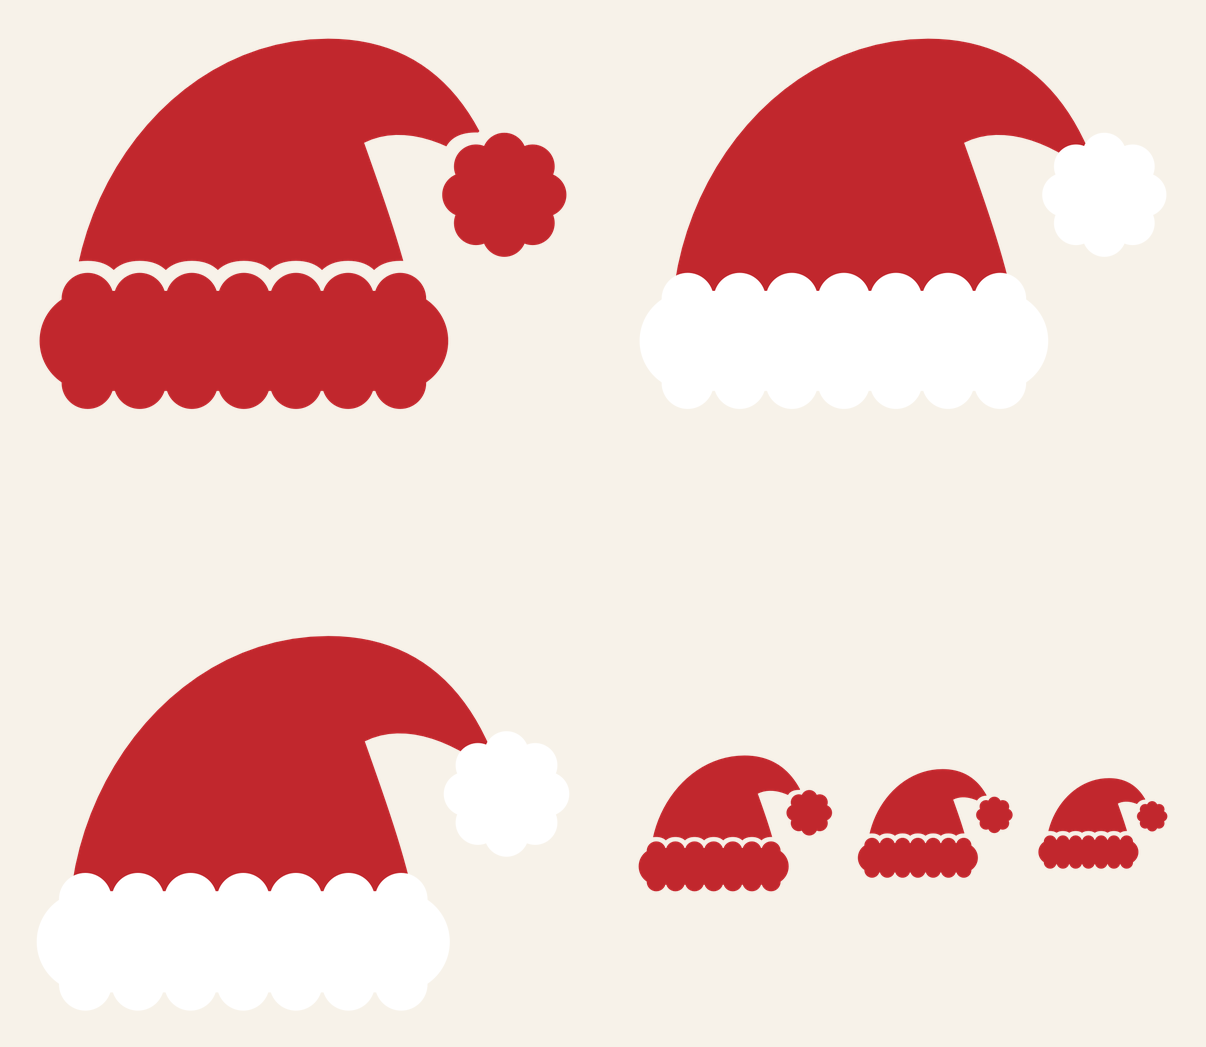
You get it four ways. A 5 in single-color hat and a 5 in two-layer hat (red with white fur) for adhesive vinyl, a 9 in two-layer version for iron-on shirts, and a sheet of three small hats at 3, 2.4 and 2 in wide for topping letters and tags.
| File | Size | Material | Layers | Check |
|---|---|---|---|---|
| Santa hat, single color (5 in) | 5.12 × 3.62 in | Vinyl | 1 layer | ✓ Cut-checked |
| Santa hat, 2 layer (5 in) | 5.12 × 3.62 in | Vinyl | 2 layers | ✓ Cut-checked |
| Santa hat, 2 layer HTV (9 in) | 9.12 × 6.5 in | HTV (iron-on) | 2 layers | ✓ Cut-checked |
| Santa hats for letters and tags (3, 2.4 and 2 in) | 8.38 × 2.25 in | Vinyl | 1 layer | ✓ Cut-checked |
Single color or layered?
The single-color hat cuts as three pieces: the hat, the fur band and the pompom. A thin gap separates them, and that gap is what draws the line between red hat and white fur when everything is the same color. It’s the quickest version to make and the one to pick when you want a red hat on a white mug or a white hat on a dark sign.
The layered hat is built to stack. The red layer is the whole hat in one solid piece, and it runs down behind the fur band so there’s no gap between colors. The white layer is two pieces, the band and the pompom, which go on top. Put red down first, white second.
| File | Size | Material | Pieces |
|---|---|---|---|
| Single color | 5.12 x 3.62 in | Adhesive vinyl | 3 |
| Two layer | 5.12 x 3.62 in | Adhesive vinyl | 1 red, 2 white |
| Two layer shirt | 9.12 x 6.5 in | Iron-on (HTV) | 1 red, 2 white |
| Hat trio | 3, 2.4 and 2 in wide | Adhesive vinyl | 3 per hat |
The fur band is a rounded bar with seven bumps along the top and seven along the bottom, and the pompom is a round center ringed by eight bumps. Those bumps are big and round on purpose; there are no skinny points anywhere in the design. Every file passed our cut check at its listed size.
What you need
- Cutting machine and a standard grip mat
- Red and white adhesive vinyl, or red and white iron-on for a shirt
- Transfer tape (adhesive vinyl only)
- Weeding hook and scraper
- Heat press or iron and a protective sheet (for the shirt)
Making the layered vinyl hat
- Upload the two-layer file. Layered SVGs keep their layers when you upload them to Design Space. See our upload guide if you haven’t done it before.
- Cut both colors. Click Make It. The red hat and the white fur land on separate mats. Leave Mirror off for adhesive vinyl and cut each mat with your vinyl setting.
- Weed. Both layers are plain outlines with nothing to pick out of the middle, so this takes about as long as peeling a sticker.
- Apply the red hat. Lift it with transfer tape, burnish it down and peel the tape away.
- Add the fur. Lift the white band and pompom together on one strip of tape so they stay spaced right. Line the band up over the bottom of the red hat and the pompom over the tip, then burnish.
Some white vinyl is thin enough that red shows through it a little. Hold a scrap of your white over the red before you cut. If you can see pink, a second white layer or a more opaque vinyl fixes it.
Our multi-color vinyl decal guide goes deeper on lining up stacked layers.
The iron-on shirt version
For a shirt, cut both layers of the 9 in file from iron-on with Mirror on, shiny side down. Press the red hat first, only long enough to tack it down, and peel its carrier. Then place the white fur on top and give the whole design its full press. That’s how Cricut’s EasyPress layering instructions describe it, and they also say glitter and holographic iron-on can only go on top, so if you want sparkly fur, that works. Take temperatures and times from Cricut’s Heat Guide or your iron-on maker. Our guide to layering HTV covers how to keep the top layer from scorching the bottom one.
Using the hat trio
The three small hats are the fun part. Each one is a complete single-color hat in three pieces. The gaps between hat, band and pompom are the same actual width on all three, so the 2 in hat isn’t just the 3 in hat shrunk with its gaps squeezed thinner. Tip one over the first letter of a name on a kid’s water bottle, a cookie canister or a gift bag, or put it on a snowman. These were checked for adhesive vinyl, not iron-on. Rotate it in Design Space so it tilts the way you want.
Size guide
| Project | File | Width |
|---|---|---|
| On a letter or gift tag | Trio | 2 to 3 in |
| Tumbler, glass block, canister | Single or two layer | 5 in |
| Window, 12 x 12 sign | Single or two layer | 6 to 9 in |
| Adult or youth shirt | Shirt | 9 to 10 in |
| Pillow cover or tote | Shirt | 9 to 12 in |
At 5 in wide the hat is 3.62 in tall, so on a mug, measure the straight part of the side before you cut. If you want a smaller hat, use the trio file rather than shrinking the 5 in hat, and don’t shrink the trio hats below 2 in. The gaps between hat, band and pompom are what go first.
For a kid’s shirt, pair the shirt hat with our reindeer head or snowman. A trio hat also sits nicely over the first letter on our personalized ornament.
Questions
Which layer goes first on a layered Santa hat?
The red hat goes first. The white fur band and pompom go on top. The red layer runs behind the band, so there’s no gap between the colors.
Can I put a Santa hat on a letter?
Yes. Use the hat trio file, which has hats at 3, 2.4 and 2 in wide. Rotate one to tilt it and set it over the top of the letter.
What size Santa hat fits a shirt?
The two-layer iron-on file is 9 in wide, which suits adult and larger youth shirts. Scale it up for a pillow or tote, but not down.